Upgrading the HTML5 Boilerplate Project to a Progressive Web App in 15 Minutes [Tutorial]

Last Updated -

Are you considering building a Progressive Web App? This tutorial should help get you started.
Anytime there is a new technology or new way to solve a programming problem developers need to know how to start.
I see questions asked across different channels about how to start, how to upgrade an existing web site or how does this work with different stacks. This includes a growing collection of businesses with native apps wanting to switch channels.
The great thing about progressive web applications is they are additive to any web site, completely decoupled from any stack or framework you might be using.
Let's review the purely technical requirements to be a progressive web app. A site must be served via HTTPS, have a web manifest with a minimal set of icons and register a service worker with a fetch event handler.
These are the minimal requirements to trigger the add to home screen experience in Chrome. This means you can spend 10-15 minutes 'upgrading' any existing site to be a progressive web application without changing the site's integrity.
To demonstrate a simple upgrade I have forked the HTML5 Boilerplate project to demonstrate the process.
This is a simple progressive web application tutorial to help get you started. Don't consider this the end of the road because making a good PWA does require more effort and every website has its own personality and potential user experience and data management considerations you need to make.
What you can take away from this post is a simple progressive web application template to help get you started. It is the initial steps I take when I am asked to upgrade a website to a PWA.
HTTPS Upgrade
The only minor adjustment you may need to make is references to any assets need to be HTTPS. For many sites this can be done with a global search and replace of 'http' for 'https'. For larger sites there might be more involved, but let's keep it simple for now.
After updating the markup to use HTTPS references you will need to upgrade your web server to use HTTPS. Because there are so many different web servers available I encourage you to see what your server requires. For production and many enterprise development and QA environments this often requires communicating with your network services/IT department.
You want to upgrade to HTTPS for many reasons. First it earns trust from users. Second, browsers are starting to gate access to modern APIs behind HTTPS. Today the cost and performance hits have all but disappeared. Certificates are very low cost or free today. With HTTP/2, web sites can often load faster using HTTPS than HTTP.
For local development you do not need to install an SSL certificate. The specification relaxes the HTTPS requirement for any site served via localhost. However, service workers will not work if a page is requested directly from the file system. You must request the site/page from a server, which locally is typically done using localhost.
A Simple localhost Web Server Using HTTP Server via the npm start command
// package.json scripts section "scripts": { "test": "echo \"Error: no test specified\" && exit 1", "start": "http-server public/www/ -p 16778 -c -i" }, Now you just need to do an npm install, reference the node module 'http-server' in either your dependencies or devDependencies section. Add the start command to your package.json file's scripts section. Now you can run 'npm start' from the command line in your project's folder.
HTTP Server is a simple web server, making serving static web pages simple on your localhost development machine. It has radically made my development process simpler.
I recommend using localhost for local PWA development because modern APIs are gated behind HTTPS, like service workers, but allow localhost using HTTP. This means you do not need to fuss with the TLS certificate installation process or containers, etc.
You launch connect from a command line. Because it is a server, the process does not stop until you explicitly stop the server. So that command prompt is not available for other tasks.
There are many other localhost web servers available, so feel free to use your favorite one. The first requirement is they can serve your HTML and supporting assets like css, JavaScript, images and font files.
Adding a Web Manifest and Icon Images
The web manifest is a file containing meta data helping the browser understand how to represent the site. There are distinct sections of the web manifest file that describe different aspects of the site. The first properties relate to the site's name. The 'name' and 'short_name' properties are used by the platform to display. The 'name' property is used where possible, while the short name is used where space is limited.
The array of icons can be used in different contexts to visually represent the application. Typically, this will be the home screen icon or live tile.
Because a progressive web app could be added to the home screen from any url in the site you probably want to designate the default or home page loaded when the user opens the PWA from the icon. The 'start_url' property lets you designate that start page.
The 'display' property allows you to control how the application appears when it is launched from the home screen icon. My default is 'standalone' because it launches without the browser chrome and makes the PWA feel like a native application. The options are 'fullscreen', 'standalone', 'minimal-ui', and 'browser'.
The 'backgroundcolor' and 'theme-color' define the PWA's color scheme. The backgroundcolor should be the same color as the primary background color defined in the site's stylesheets. The theme-color can be the same as the background_color, but can vary. I tend to make it the same color used for the primary font. For the example project I chose #222 for the background color and #E08524 (orange).
Adding a Basic Service Worker
The service worker may be the most important aspect of the PWA requirements. And it earns that distinction because it can do so much. Fortunately, the minimal requirements are simple to meet. However, a true PWA has a sophisticated service worker. Be sure to register for our service worker courses and follow our blog and YouTube channel to learn more about using service workers.
Add a sw.js file to the root of your web site. You can leave it empty for now.
The first step in adding a service worker is make sure service workers are supported. This is done using feature detection. A simple if statement checking if 'serviceWorker' is a member of navigator does the trick.
if ('serviceWorker' in navigator) { } If serviceWorker is supported you need to register the service worker. This is done by calling the navigator.serviceWorker.register function.
if ('serviceWorker' in navigator) { navigator.serviceWorker.register('/sw.js') .then(function (registration) { console.log(“ServiceWorker registration succeeded.”); }).catch(function (err) { console.log('ServiceWorker registration failed: ', err); }); } Adding a fetch Event Handler
Now your service worker is register you need to add a fetch event handler. The fetch event handler needs to check the cache for a valid stored response before checking the network. This is because browsers are changing the criteria to trigger the add to home screen experience, or minimal Progressive Web App requriements.

Before creating a basic service worker fetch event handler you should pre-cache common assets. Part of my service worker best practices is to declare a variable to name the cache for pre-cached assets. Next I add a second variable to hold the list of common asset urls to cache.
const preCacheName = "pre-cache-hbp", preCacheFiles = [ "/", "css/normalize.css", "css/main.css", "img/html5boilerplate-152x152.png", "js/vendor/modernizr-3.5.0.min.js", "https://code.jquery.com/jquery-3.2.1.min.js", "js/plugins.js", "js/main.js" ]; These assets are cached in the service worker install event. To do this you need to open a reference to the pre-cache cache using the declared name. This returns a promise that resolves a reference to the cache object.
Next, you can add the common files to the cache using the addAll method. This function iterates over the array of assets, making the network request and caching the response. You should note, if any of the requests fail, for example are not found, the entire operation fails and nothing is cached.
self.addEventListener("install", event => { caches.open(preCacheName).then(function (cache) { return cache.addAll(preCacheFiles); }); }); Now that you have cached the core assets you can add a proper fetch event handler. In this example I am adding a very simple service worker fetch event handler. It checks the cache first, then makes a network request if a response is not available.
self.addEventListener("fetch", event => { event.respondWith( caches.match(event.request).then(response => { if (!response) { //fall back to the network fetch return fetch(event.request); } return response; }) ) }); If you have followed along you now have a basic reference project that meets the minimal requirements to be a progressive web application. Remember when you deploy to have an SSL certificate installed. Create and reference a web manifest file. Add an array of icons to be used for the home screen. And register a service worker with a fetch event handler.
Any site can do these three tasks very quickly. All three are additive and not required for a site to function. But adding these features trigger modern browsers to prompt the user to add the site to their home screen and thus be a minimal progressive web application.
Be sure to check out my other Progressive web apps:
I challenge you to enhance any existing site you currently have or manage to meet these requirements. It should not take more than 15 minutes and begin you on your journey to a good progressive web application experience.
A Quick Review
The HTML5 Boilerplate project has served as the foundation for many website templates and website builders. Hopefully you can use this tutorial to quickly upgrade any of those derivitive works to a basic progressive web application.
This is a basic introuductory PWA tutorial, it will get you the bare minimum to call your website a progressive web application. The reality is if you really want to be a true progressive web app there is much more involved, you need to create a great user experience.
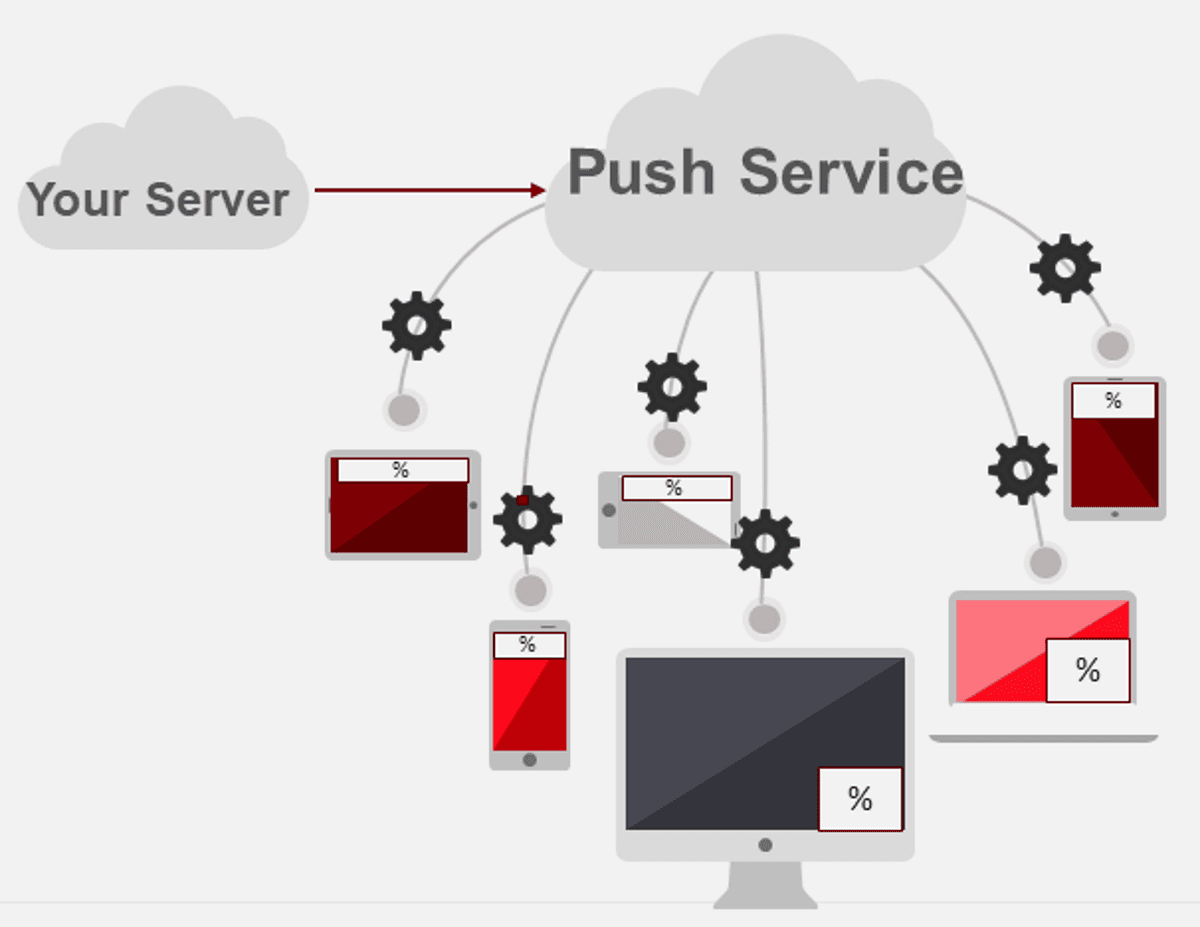
Every application is different. You need to determine what your caching strategies, yes I said strategies, need to be, how you will prompt users to add your site to their homescreen. Will you integrate push notifications and those are just PWA specific items.
What about mobile first responsive design, 3 second or less time to first interaction page speed, app-like user interface and experience, I could go on and on.